Utensil Plan #04 • Hand / Bandsaw / CNC
Roux Spoon
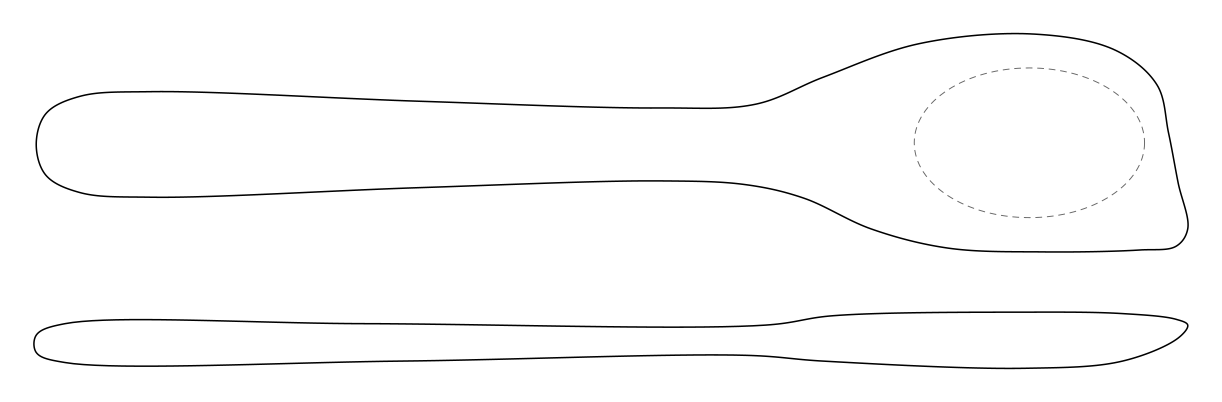
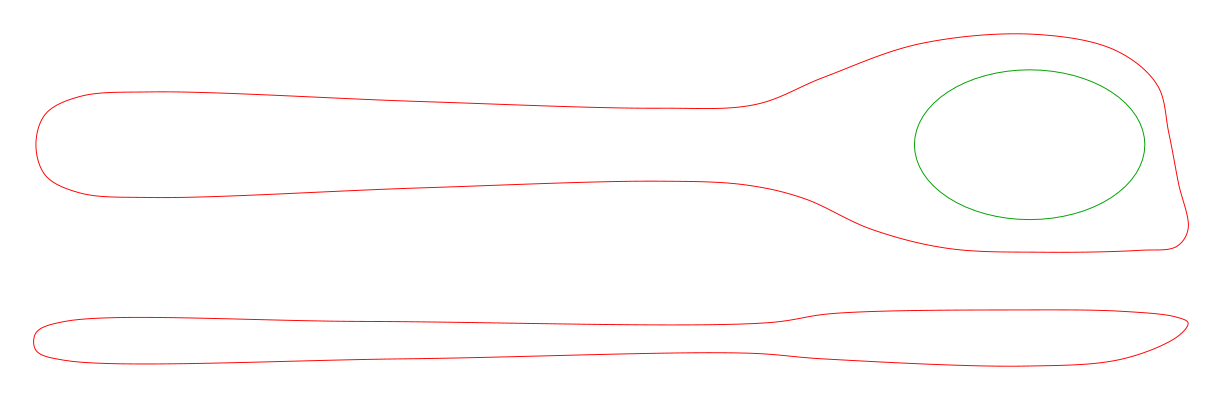
Flat front edge scrapes the pan bottom; keep the bowl shallow and the front edge about 1/8" thick.
View Plan & Build Guide →The straight side and corner reach into pot edges. Drawn right-handed: flip the template for a left-handed spoon. Download the printable PDF plan, vector SVG, layered CAD/CAM DXF, and 3D carving files below—complete with step-by-step build instructions and our 100% plant-and-wax finishing protocol.
Every file is calibrated in inches (1 unit = 1"). Print the PDF at 100% / Actual Size or load the vectors/mesh directly into VCarve, Fusion 360, Carveco, or LightBurn.
⇩ Download Printable PDF Plan (2 Sheets)Accurate stock preparation is half the battle when building the Corner Spoon. Verify your blank dimensions and thickness before adhering the template or zeroing your CNC/laser axis:
| Component | Finished Size | Rough Hardwood Blank (L × W × T) | Printable Sheets |
|---|---|---|---|
| Corner Spoon | 12" L x 2-1/4" W | 12-1/2" x 2-1/2" x 3/4" | 2 US Letter Landscape Sheets |
Choose a closed-grain, diffuse-porous domestic hardwood with a tight cellular structure: Hard Sugar Maple (Acer saccharum), American BlackCherry (Prunus serotina), American Black Walnut (Juglans nigra), European Beech, or Yellow Birch. Avoid ring-porous species like Red Oak (whose open tyloses-free vessels trap food particles and wick liquids like straws) as well as resinous softwoods or spalted stock.
Follow this numbered shop sequence to take your Corner Spoon from rough lumber to a crisp, heirloom-grade piece ready for finishing:
Print the standalone Corner Spoon PDF at 100% / Actual Size (never “Fit to Page”). Check the 1″ × 1″ calibration square in the top-right corner with a steel rule or calipers. Because this pattern is 12″ long, it spans 2 landscape sheets: trim Sheet 1 along the copper dashed line, overlay it onto Sheet 2 so the ⊕ registration targets align, and tape flat. Select a defect-free, straight-grained hardwood blank measuring at least 12-1/2" L × 2-1/2" W × 3/4" T and adhere the top-view pattern with a light mist of spray adhesive or a glue stick, aligning the grain arrow parallel to the handle.
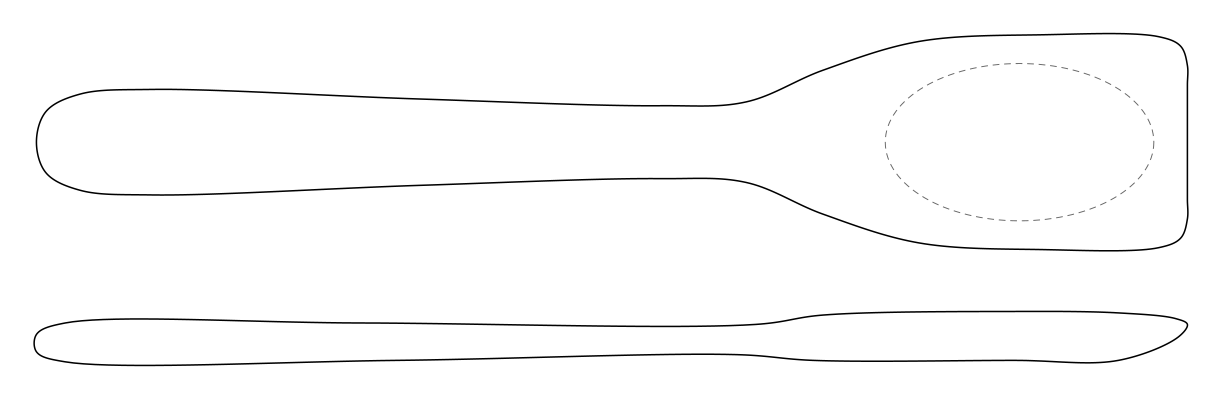
Before sawing the outer perimeter, clamp your rectangular 12-1/2" L × 2-1/2" W × 3/4" T blank securely in a bench vise. Establish a stop-cut just inside the dashed ellipse (2-3/8″ long × 1-9/16″ wide) and excavate the hollow down to 5/16″ deep at the deepest point using a bent gouge or hook knife. Working from the rim toward the center across and diagonal to the grain prevents tear-out while the flat square cheeks give your vise jaws rock-solid purchase.
Saw the top-view silhouette on a bandsaw, scroll saw, or coping saw, staying 1/16″ proud of the solid black line. To cut the side profile cleanly on a bandsaw, temporarily tape the sawn side waste blocks back onto the blank with painter's tape (keeping the glue joints clear of the blade path), transfer the Side Profile template onto the edge, and saw the upper and lower thickness tapers.
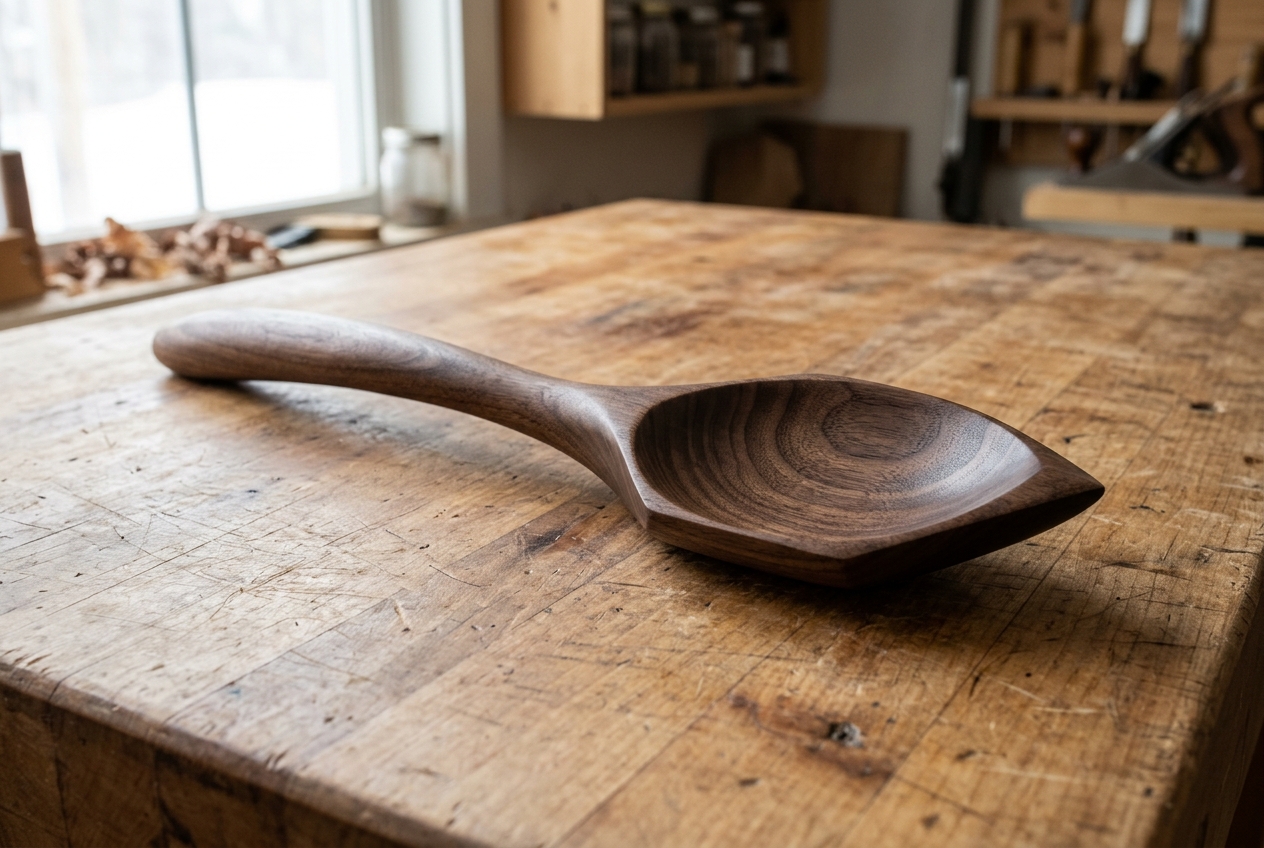
The straight side and corner reach into pot edges. Drawn right-handed: flip the template for a left-handed spoon. Use a spokeshave, cabinetmakers rasp, and carving knife to transition the handle from a warm oval cross-section into the neck and working head, chamfering and rounding every sharp corner so the corner spoon feels balanced and silky in the hand.
Sand progressively through 120, 180, and 220 grit to remove all tool marks. Next, wipe the entire utensil with warm water and let it dry for 30 minutes. This critical water-popping step swells and stands up compressed wood fibers now rather than the first time the utensil hits hot dishwater. Lightly kiss the raised fuzz off with fresh 220-grit paper until glass-smooth.
Flood the bare hardwood generously with DuraGrain Walnut Oil (12 fl oz). Unlike petroleum mineral oil (which never cures and leaches out into boiling soup), our 100% alkali-refined walnut oil penetrates deep into the wood pores and cross-links with oxygen into a permanent, water-repellent matrix. Wait 20 minutes, wipe completely bone-dry with a lint-free cloth, and buff on a thin topcoat of DuraGrain Board Butter (5 oz — Walnut Oil, T1 Brazilian Carnauba & USA Beeswax) using the included #0000 white applicator pad.
Always orient the long grain of your board strictly parallel to the X-axis (left-to-right on the template). Diagonal grain runout across a narrow utensil neck, hook tenon, or featherboard finger creates short grain that can snap under everyday load.
Never skip grits or sand raw hardwood above 220 grit before applying natural polymerizing oils. Over-polishing raw wood to 400+ grit burnishes the wood cells shut and prevents DuraGrain Walnut Oil or Hardwax Oil from anchoring deep inside the fibers.
For kitchen utensils and trivets, misting with warm water before your final 220-grit pass eliminates raised-grain fuzz permanently. When applying DuraGrain finishes, always wipe the surface 100% bone-dry after 15–20 minutes so the oil cures inside the wood rather than turns tacky on top.
Never soak a handcrafted Corner Spoon in drugstore mineral oil. Mineral oil is a liquid petroleum distillate that never polymerizes—meaning it leaches right out into hot soup, pasta water, or charcuterie cheeses after two washes, leaving your hardwood gray, raised-grain fuzzy, and unprotected. Instead, lock the wood fibers from the inside out with our 2-stage drying-oil and T1 carnauba system:
After water-popping and final sanding to 220 grit, flood the bare hardwood generously with DuraGrain Walnut Oil. Because our walnut oil is 100% alkali-refined and cold-pressed (with protein allergens removed via filtration), its low-molecular-weight triglycerides wick deep into tight maple, cherry, or walnut pores. Wait 20 minutes, wipe the surface completely bone-dry with a lint-free shop towel, and let oxygen cross-link the oil into a permanent, hydrophobic internal seal.
Once your base coat has cured, apply a dime-sized dab of DuraGrain Board Butter using one of the 2 included #0000 ultra-fine white applicator pads packed inside the lid. Our proprietary ratio of polymerizing walnut oil, domestic yellow beeswax, and rock-hard T1 Brazilian Carnauba Wax (melting point 180°F / 82°C) buffs to a warm satin luster that shrugs off boiling cooking liquids and hand-washing.

100% alkali-refined polymerizing drying oil. Zero petroleum mineral oil, zero solvents, 0.0 g/L VOC. Formulated & poured in Pittsburgh, PA.

Walnut Oil, T1 Brazilian Carnauba & USA Beeswax with 2 reusable #0000 white applicator pads nested inside the jar.
Flat front edge scrapes the pan bottom; keep the bowl shallow and the front edge about 1/8" thick.
View Plan & Build Guide →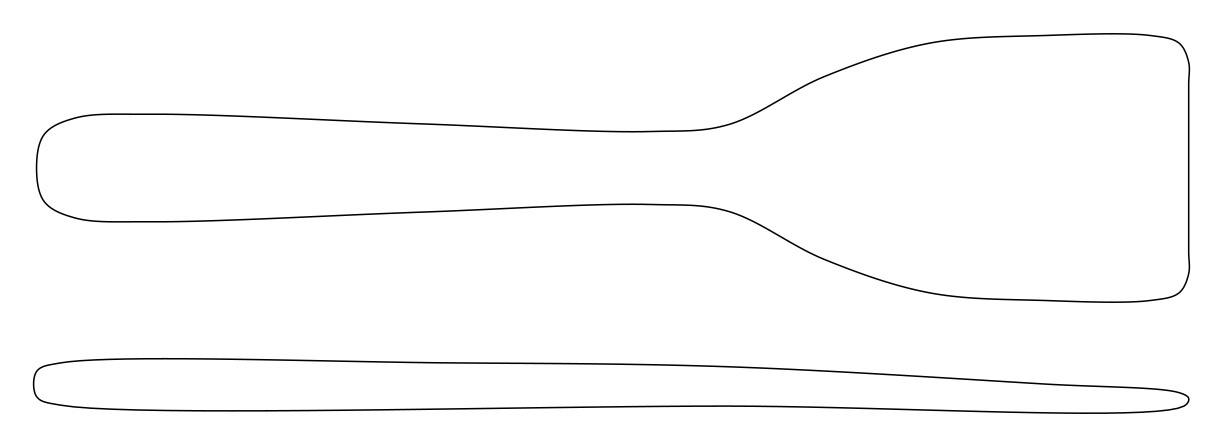
Taper the blade from full thickness at the neck to about 3/32" at the front edge.
View Plan & Build Guide →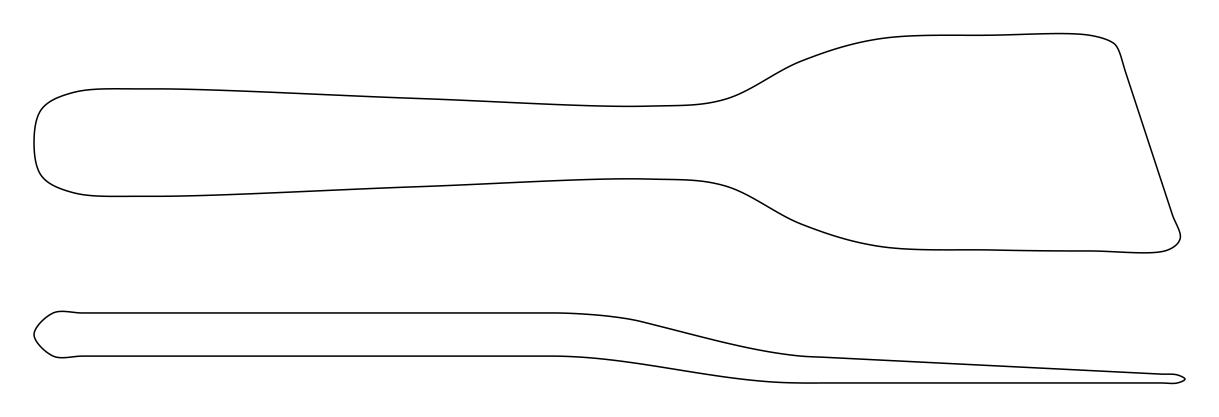
The angled edge sits flat in the pan and the slight handle offset keeps knuckles clear. Flip the template for left-handed use.
View Plan & Build Guide →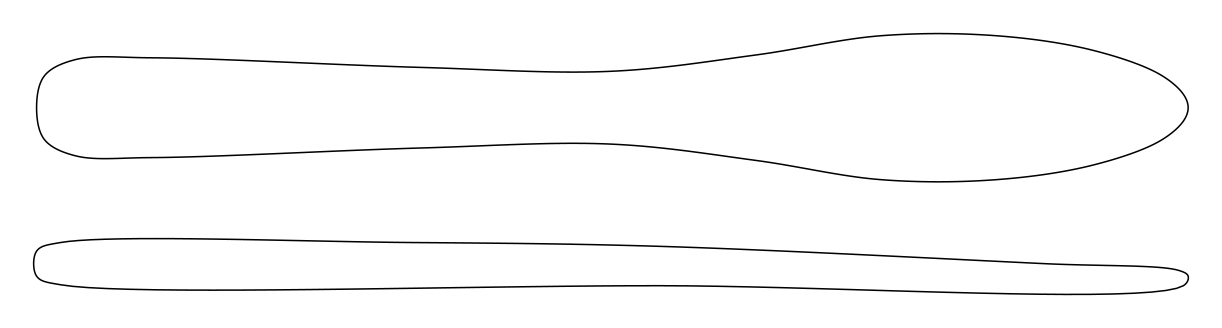
Ease every edge to a soft round so it stirs without catching.
View Plan & Build Guide →